
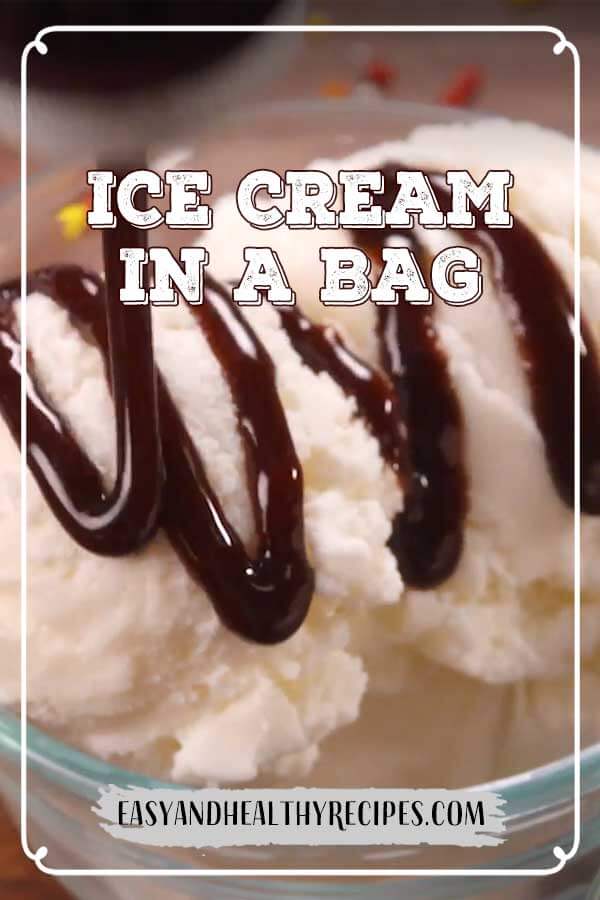
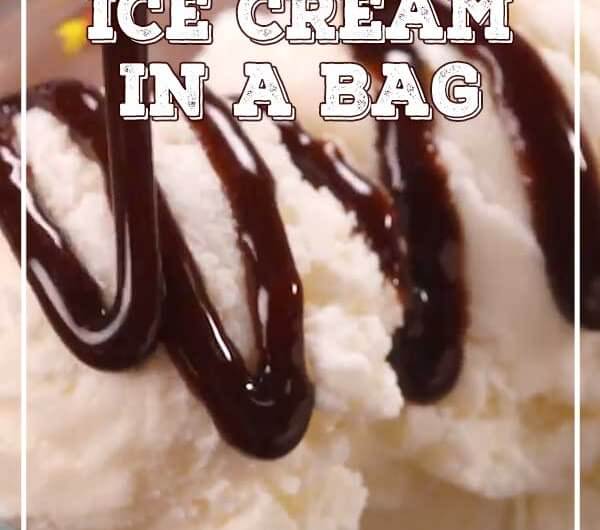
Ice Cream in a Bag
Let’s make your dessert time easier and more enjoyable with this Ice Cream in a Bag. Half-and-half, sugar, and vanilla are combined in a small resealable plastic bag and seared. They’re then placed inside a larger resealable plastic bag of ice and salt, and shaken vigorously until ice cream has hardened. And ready to serve. You can top your ice cream with drizzles of melted chocolate for crumbled peanut. Yummy!
1
servings5
minutes15
minutesThis ice cream in a bag is super easy and fun to eat. So, you can let your kids make this ice cream if they get interested in. Have fun!
Ingredients
1 c. half-and-half
2 tbsp. granulated sugar
1/2 tsp. pure vanilla extract
3 c. ice
1/3 c. kosher salt
Toppings of your choice
Directions
- Combine half-and-half, sugar, and vanilla in a small resealable plastic bag. Push out excess air and seal.
- Combine ice and salt into a large resealable plastic bag.
- Place small bag inside bigger bag and shake vigorously, 7 to 10 minutes, until ice cream has hardened.
- Remove from bag and serve with toppings of your choice.
Recipe Video
Source: https://www.delish.com/cooking/recipe-ideas/recipes/a54721/ice-cream-in-a-bag-recipe/
Notes
Ice Cream in a Bag is a hands-on dessert made by freezing a simple cream mixture using ice and salt instead of a machine. Half-and-half, sugar, and vanilla are sealed in a small bag, then placed inside a larger bag filled with ice and salt. Shaking the bags together chills the mixture quickly, turning it into soft ice cream in a short amount of time.
The recipe works because the salt lowers the freezing point of the ice, allowing it to pull heat from the cream mixture more efficiently. Using a sealed inner bag keeps the ice cream base protected while still allowing it to freeze evenly. Shaking continuously helps prevent large ice crystals, resulting in a smoother texture once set.
This recipe is practical for everyday use since it requires minimal ingredients and no special equipment. It’s best served right after it firms up, while the texture is fresh and creamy. Toppings can be added at the end based on preference, such as chocolate drizzle or chopped nuts, without changing the basic method. Using sturdy, well-sealed bags helps prevent leaks and keeps cleanup simple.